Saturday saw the occurrence of the aforementioned tournament. To say that it went well would be an understatement, and a significant one at that. My goal going in had been to win at least one game, have fun, and at least get a little consideration for player’s choice. I will be a little more optimistic heading into the next tournament I attend.
After three good games, the dust settled and I had managed to go undefeated. We’re still awaiting the final posting in terms of battle points, so I don’t know if I finished with the highest score, but if I did, that’s just extra gravy on an already awesome day. I also got a vote for player’s choice and a lot of praise for my work, so my ego is reaching a size where it has to cannibalize itself to survive.
I am really happy with the way my army turned out. I am a very slow painter, but I really feel like the tournament deadline helped me push myself to get things done. It wasn’t an altogether unpleasant experience, but I don’t think that I’ll try to repeat it. The Warriors were getting done at a decent rate, by my standards at least. They weren’t anything incredibly intricate, but they’re the older kit, which didn’t have a lot of options as far as intricacy. Additionally, I decided I wanted to run the unit with extra hand weapons as a six wide by four deep block, which meant painting four more Warriors than I had originally intended. I didn’t really have the time, energy, or appropriate models for this, so I looked around at what was sitting around in my collection, grabbed a Bloodcrusher Juggernaut, and ended up with a pretty cool looking unit filler. This was the state they were in on Wednesday night:
Once the infantry were done, it was time to start working on the Wargs and the other peripheral units. The Warshirne was by far the easiest. I had an old corpse cart hanging out, and I had planned to put a charioteer with a whip in place of the necromancer. The feet were incorrectly positioned though, so I gave the necromancer a quick three shades of blood red on his outside cloak and swapped the zombies that I never liked out for some horses. I had some of the old chariots, but they had mostly fallen apart due to the incredibly poor basing system for chariots in the late 90’s. A little glue saw the model put back together, and I cut a new base using the spare parts from a movement tray.
 At this point on Thursday night, I knew I wasn’t going to finish the job, so I chose to concentrate on the sorcerer. I wanted to keep him close to the overall color scheme of the army, but need some way to differentiate between his patronage to Tzeentch and the
 rest of the army’s loyalty to Khorne. The bloodletter mounted on him was going to provide plenty of the base blood red/chaos black/tin bitz colors, so I went with a pair of purples for his tunic and cloak. The Warlock Purple is straying towards warmer colors, and I think it does a nice job linking that part of the scheme to the cooler Liche Purple. I also used Chainmail on his armor, which in it of itself is not a shocking choice, but I’ve purposely avoided it throughout the rest of the force. I think individually it’s unnoticeable, but in the overall presentation of the force, it’s a small detail that subtly distinguishes him as different.
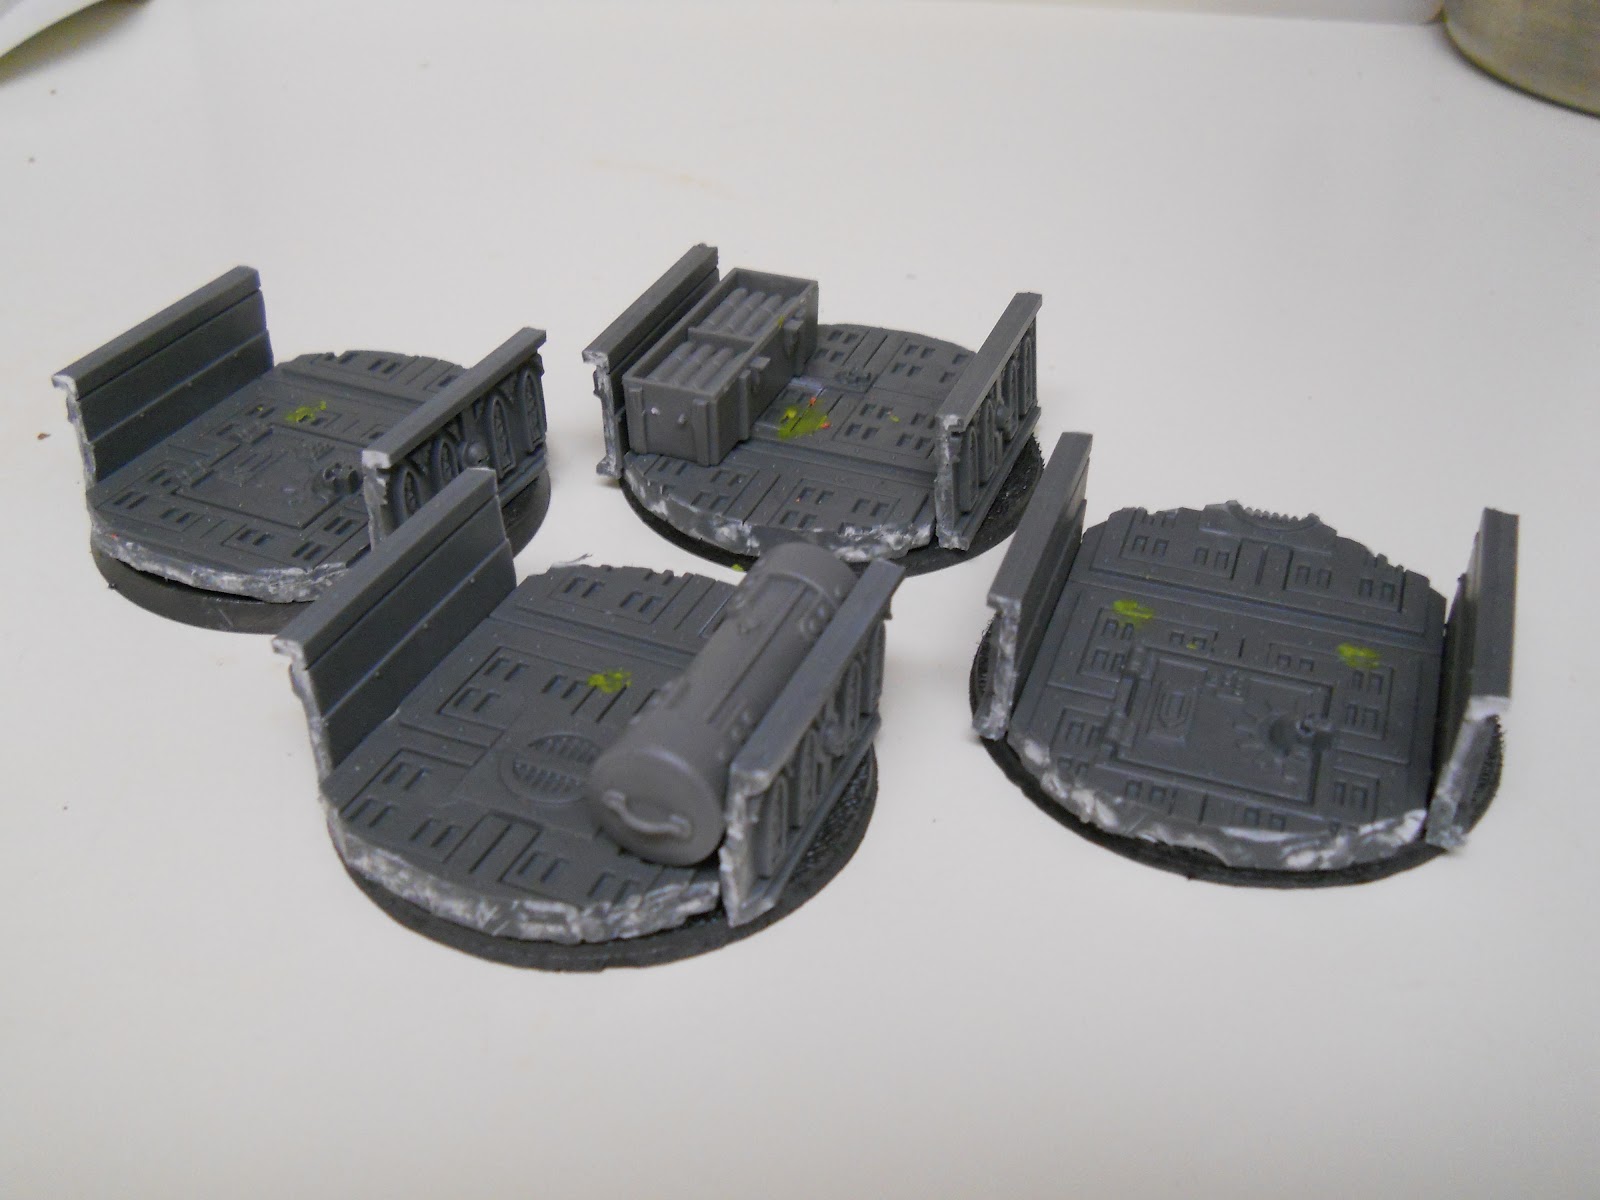
 After a pretty bad SNAFU with the marble company, my marble didn’t ship until Wednesday night, so I was really sweating it out. Thankfully, it arrived Friday afternoon, so once I hit the door, I got to work basing. Doing the 25mm bases has never been easier. I’d glue down a section of tile, then paint the sides liberally with Scorched Brown. This contributes to the look of grout filling in the space between the bases as if it were a real temple. If I had left it unfinished or gone with black, I think it would have been a distraction from the base and the model. Both would have looked sloppy and hastily done. I also had to make some decisions on larger bases. The chariot sized bases and the 40mm squares actually had gaps between them on the bases themselves. I could have just painted them in, but instead I filled them with hard drying foam. It took a little while to set, but when it did, I just painted over it and I essentially had grout in between tiles. While it wasn’t necessarily the neatest job, it was relatively painless and unless you get close you can’t tell the difference.
Unfortunately, this work contributed to the demise of the Wargs and not being able to finish them. I got one done, but decided to go to bed around 4 a.m. I thought I’d get up at six. I was wrong. Nine o’clock rolled around and I had to scramble to find a tray. Then I drove as smoothly as possible to the game store. This involved making early decisions on running yellow lights and hoping so desperately that all the upraised metal bits directly behind my seat would not become projectiles in the case of a 65 mile per hour accident. I made it just fine, grabbed my table assignment, and things kicked off at 11:30.
That’s pretty much the extent of my hobby half of the tournament. I’ll delve into the game side of things tomorrow most likely. In the meantime, I want to thank Rush over at
Warpstone Pile for putting on the tournament. He did a heck of a job. Things went smoothly and it seemed like everyone had a good time, mostly because everyone was talking about what a good time they had. Pairings were made quickly and adjusted so everyone go three games against different opponents, while still holding to the NOVA Open system that people are trying to prep for. So yeah, thanks Rush.